Visual inspections of all elements

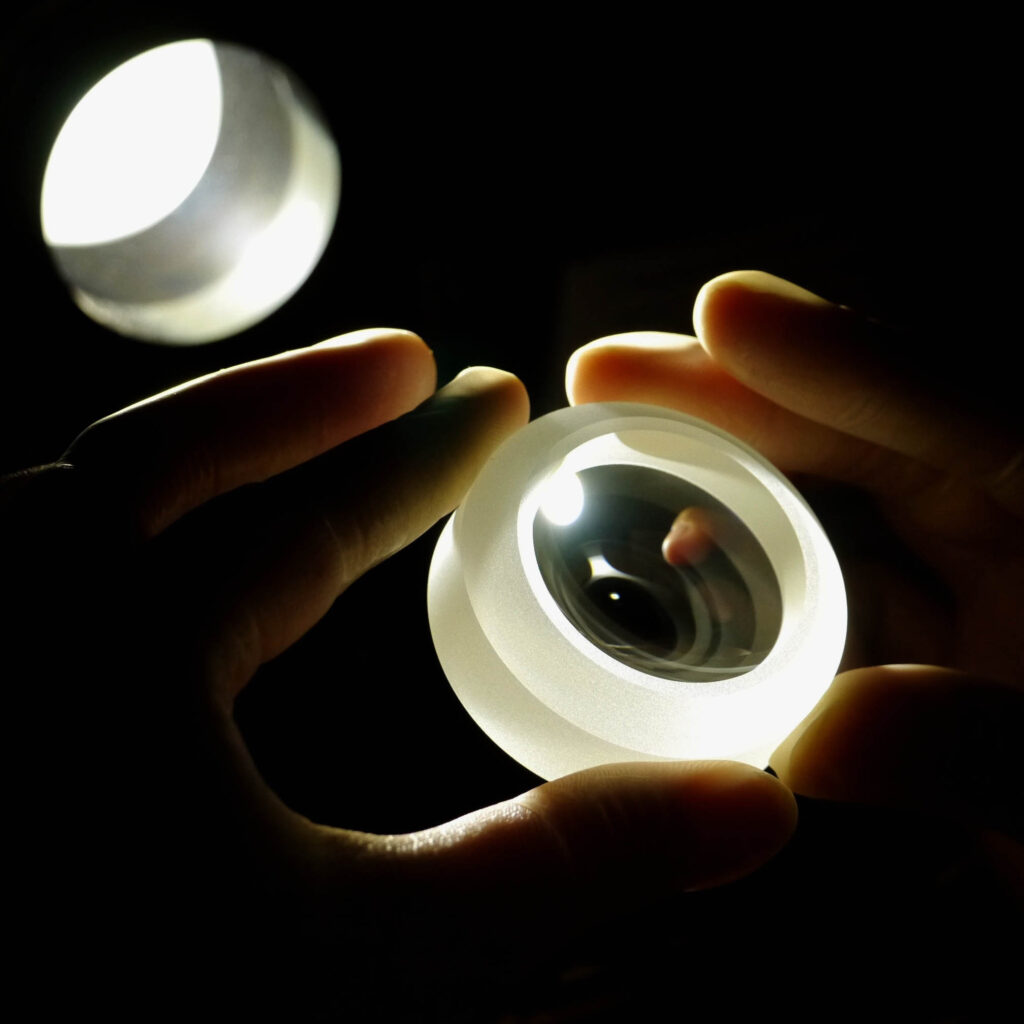
Cosina’s Iiyama factory has a quiet room where outside light is blocked from entering. Unlike areas where grinding and polishing are done, the lighting is greatly toned down as opposed to flat. This is where we inspect our high-end optical elements. As shown in the above photograph, this is done visually while holding the element up to a light. If even the slightest scratches are detected on surfaces or edge faces, the element fails the inspection. Only elements that clear optical performance tests make it this far, but they still do not qualify as products until they pass this stringent appearance check. Since all of the optical elements are visually inspected, this process demands exactness and speed, therefore most of the people who are deployed to perform these inspections are women with exceptional concentration and an eye for beauty.

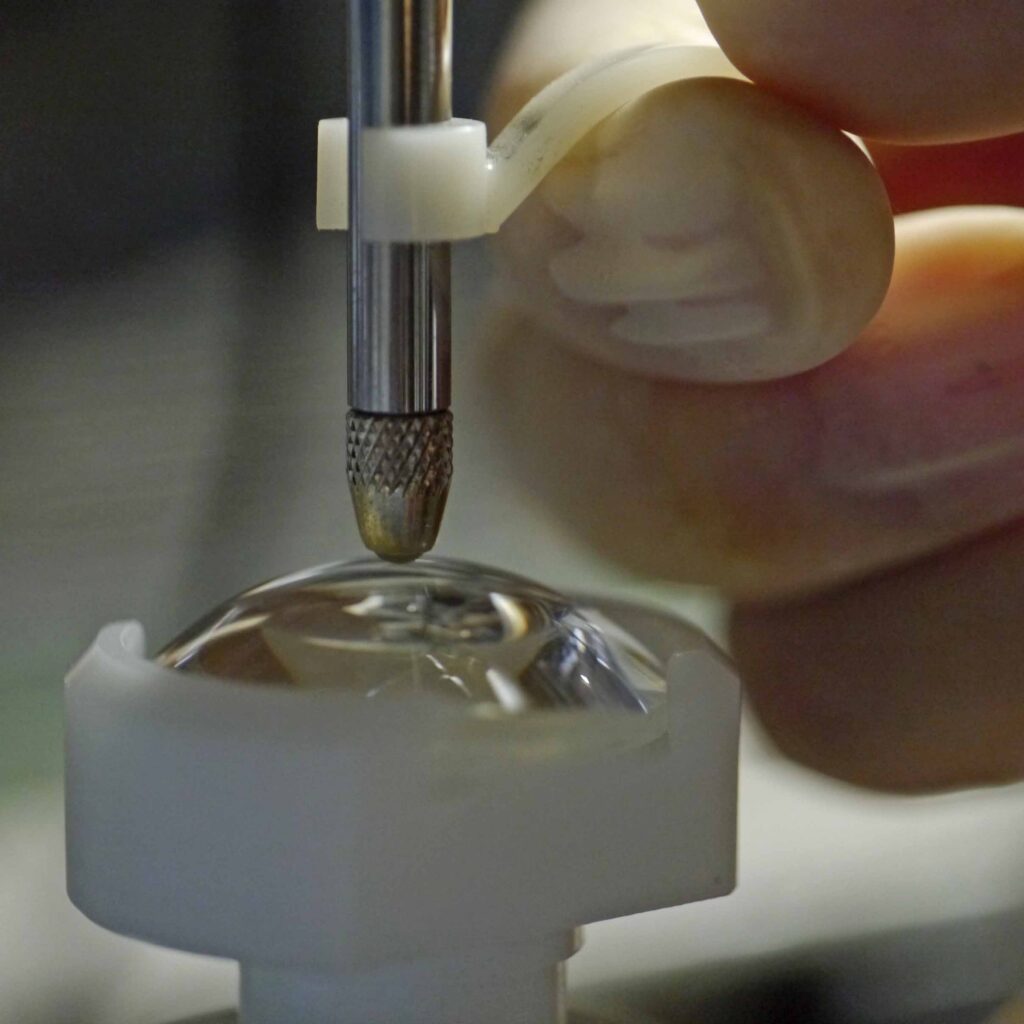
The thickness is meticulously measured with all polished elements. Tolerance (difference between the actual maximum and minimum thickness and the target thickness) is set to 1/100 mm and measurements are done down to an accuracy of 1/1000 mm. Since it is virtually impossible that elements do not deviate from the thickness target, they are categorized into separate groups depending on whether the measured thickness is to the higher end or the lower end of the tolerance range. Then, this deviation can be offset when assembling multiple elements, by appropriately balancing out the thicker elements with the thinner elements. Despite the minute inconsistencies, this practice improves overall precision.

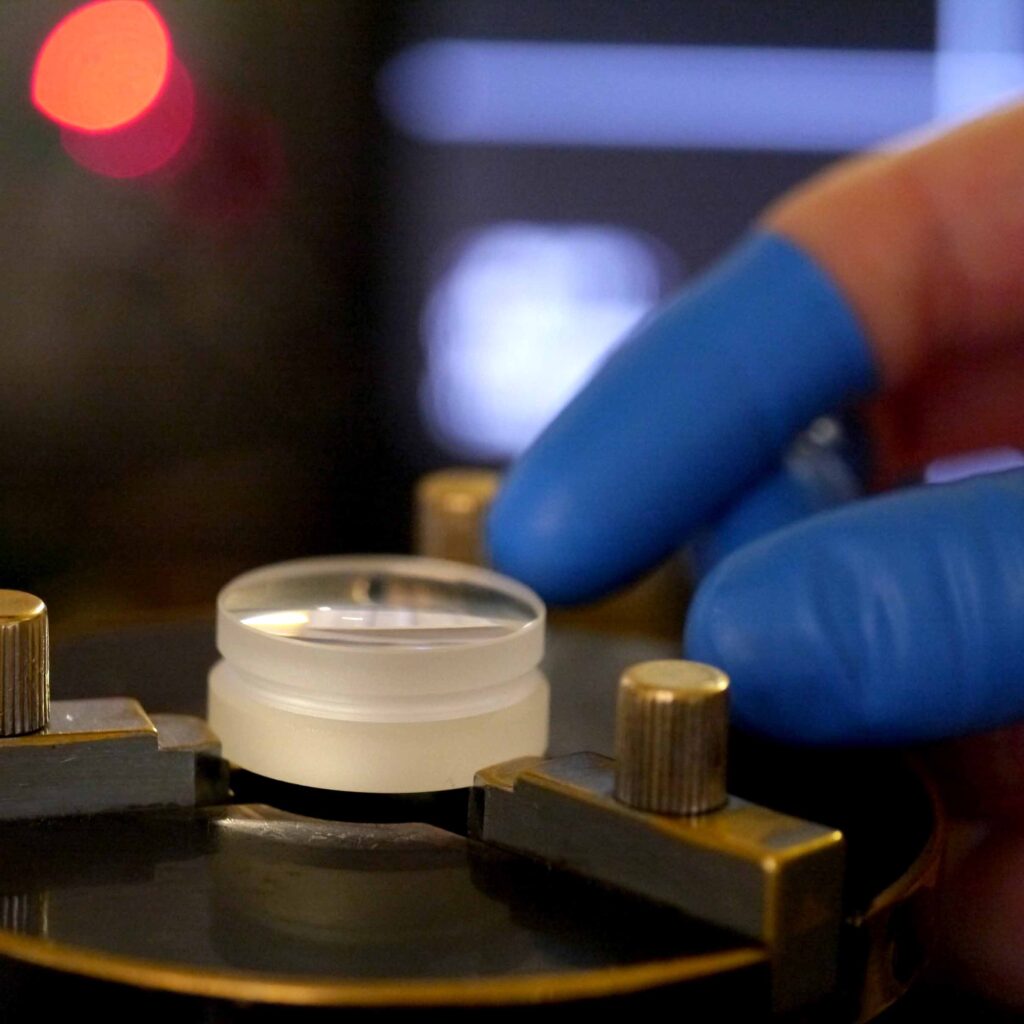
Moreover, all centered elements (see “How optical elements are perfectly centered”) undergo rigorous laser measurements to make sure that their optical axis is not off-center. Especially compound unit that bond multiple optical elements together are tested under the same conditions because of the increased probability of eccentricity than seen with a single element. Needless to say, any element that does not meet the specified requirement is rejected. The appearance, thickness and optical center of all ours optical element are meticulously inspected and only those that clear all three points advance to the next process.